Phone:
07389074312
Physical address:
9 Kynaston Cresent
Thorton Heath CR7 7BS

Did you know that 40% of UK homes face plaster problems within three years of DIY? Bad techniques cause cracks, uneven surfaces, and expensive fixes. With expert advice, homeowners can dodge these issues and achieve professional-looking finishes. This guide shows how mastering plastering can improve your home, increase its value, and ensure flawless walls and ceilings.
Whether it’s a small fix or a full room makeover, the right method saves time and money. This article covers all you need to know, from picking the right tools and materials to fixing common mistakes. Even beginners can get smooth finishes by following these tested steps.

Proper plastering is more than just smoothing walls. It’s the foundation of anyhome improvementproject. I’ve seen how bad techniques cause cracks, uneven surfaces, and expensive fixes.Professional plastering techniquesmake a solid base for paint, wallpaper, or tiles. Without them, even the bestinterior designchoices can fail.
Key reasons to prioritise quality work:
DIY mistakes often lead to visible seams or sagging corners. These defects needprofessional adviceto fix, adding to costs. Skilled plasterers know about material mixes and drying times—details that affect long-term results.
Investing in proper methods now prevents headaches later. This section sets the stage for mastering the steps ahead, ensuring your project stays on track. Let’s move to the tools needed next.
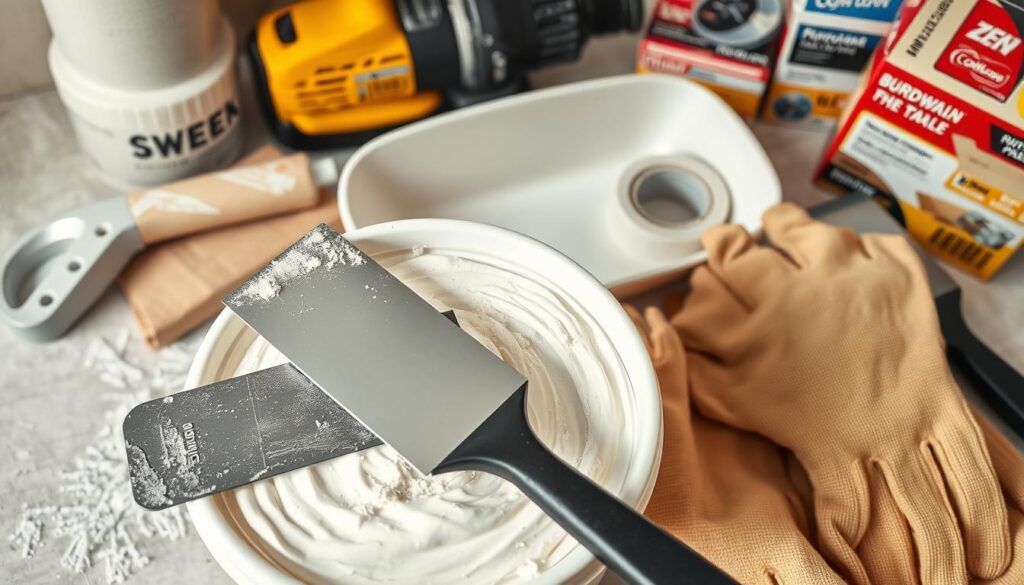
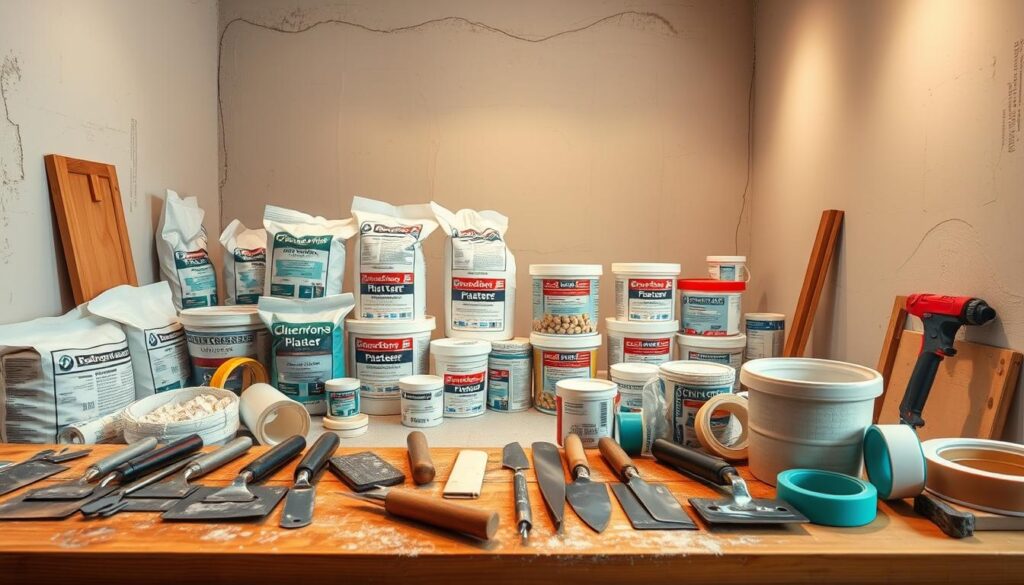
Starting a diy plastering project needs the right plastering tools and materials. Without the right tools, even simple smooth surface prep gets tough. Each tool has its role—picking the wrong one can cause problems.

Tools like corner trowels and feather edge blades are for edges and transitions. A straight edge rule checks plaster thickness. High-quality steel tools prevent bending.
My diy plastering tips stress on keeping tools in good shape. Clean them right after use with soapy water. Store them in dry places to stop rust. Check trowel edges often; dull blades mess up textures. Replace old tools yearly for better results.
Choosing the right plastering materials is key to a successful project. As an expert, I always look at what the project needs and what the surface is like. Plastering techniques change based on whether it’s walls, ceilings, or old surfaces.

My is to check the bag labels for that match. Mixing too much or too little can mess up the finish—aim for a smooth, not too runny or too thick.
For big projects, figure out how much material you need. Multiply the wall area by the thickness (in metres) and then divide by 12.5. This will tell you how many 25kg bags you need. Ordering too much wastes money, too little stops work.
For areas that get a lot of moisture, like bathrooms, use special additives like fibreglass mesh. Always test a small area before doing the whole job. The type of surface you’re working on decides what material you should use—don’t guess. This careful planning leads to lasting results.
Smooth surface prep is essential for a professional finish. I begin by checking every surface. This includes new drywall, old plaster, or masonry. I look for cracks, damp patches, or uneven areas.

Humidity and temperature are also important. I avoid working in rooms below 10°C or with damp walls. Good ventilation is crucial to prevent moisture trapping.
Professional techniques like priming absorbent substrates or filling gaps with specialist compounds turn problem walls into stable bases. Rushing prep can lead to uneven textures and failed adhesion. Taking time here guarantees fewer headaches later.
Learning to plaster begins with a detailed step-by-step plastering guide. As a beginner, start with these basic steps. They help you gain confidence and precision. Begin with small projects, like a test wall or a spare ceiling panel.
This way, you can improve your skills without making expensive errors.

Timing is crucial. Always check the drying times given by the manufacturer. But first, test a corner. Overworking wet plaster can cause cracks—this is key expert plastering advice.
If unsure, let it set a bit before smoothing. My diy plastering tips include using a damp cloth to soften edges between coats.
Mastering pressure is important: too hard and it compacts; too soft and it sags. Use wrist motion, not arm strength. Mistakes will happen—scrape them off right away with a trowel.
Remember, every pro began here. Practice every day until the motions feel natural. Progress comes with repetition, not perfection.
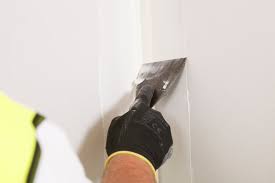
Getting smooth finishes begins with careful wall plastering techniques. My method focuses on consistency from the start. Start with a base layer, using a trowel at a 45-degree angle. This ensures even adhesion on masonry or plasterboard.
Building layers, work in sections up to 1.2m wide to avoid drying gaps. Use a straightedge to check flatness every 30cm. For professional plastering tips, keep wet edges by overlapping new plaster onto still-damp areas. This method prevents visible seams.
Feather thin layers over uneven spots, pressing firmly but avoiding too much pressure. This prevents air from getting trapped.
Structural irregularities need special solutions. For bulging walls, score surfaces lightly before applying a scratch coat. Always skim final layers in long, sweeping motions, holding the trowel at 70 degrees for smooth finish control.
Practise identifying texture changes by touch. This skill reduces sanding needs. Remember, perfection takes practice and careful observation of drying times.
Plastering ceilings is all about precision to fight gravity’s pull. As a skilled plasterer, I start with setting up. I make sure scaffolding or platforms give full access to the ceiling without strain. It’s crucial to wear protective eyewear and non-slip footwear for safety. This ensures my hands stay steady for perfect ceilings.
My professional techniques involve adjusting angles. Trowels need to be at 45–60 degrees to spread plaster flat. I mix the plaster a bit drier than for walls to stop it from sagging. I work in small areas, blending edges to avoid bumps. Here’s my approach:
Physical stamina is key. I work in 30-minute bursts, switching arms to avoid cramps. Staying hydrated and taking breaks keeps me focused. Remember, rushing ceiling work results in uneven finishes. Achieving perfection comes from practice—each project teaches me how gravity affects materials.
Creating perfect ceilings is not just about skill—it’s about careful planning. Follow these ceiling plastering methods, and even beginners can get pro-level results. Trust the process, keep safety first, and let gravity be your ally.
Perfect walls need sharp corners and edges for a seamless finish. As a pro, I’ve learned these details show the quality of any interior decorating job. Here’s how to get them right.
Internal corners need a careful plan. I start by scoring the base layer for plaster adhesion. A corner trowel and angle bead help keep lines straight.
I build layers slowly, using a spirit level to avoid bulges. This stops shrinkage cracks and keeps the wall strong.
For outside corners, I use corner beads with galvanised mesh. Press them into wet plaster before skimming. A 45-degree angle cut makes the trowel move smoothly, avoiding gaps.
Reinforcement mesh under heavy corners adds strength without visible seams.
Transition zones, where plaster meets timber, need precision. I don’t use masking tape. Instead, I feather edges by hand, stopping at the boundary.
Light passes with a steel float create a sharp line without ridges.
These tips make corners a strength, not a weakness. Perfect walls enhance any interior. Remember, patience is key for these details.
Plastering projects often hit bumps like cracks, peeling, or uneven finishes. Here’s professional advice to fix these problems fast. This way, your DIY plastering project stays on track.
My plastering hacks for UK climates:
1. In cold weather, warm water slightly when mixing to delay setting.
2. For old walls, score surfaces with a hawk tool to improve grip.
3. Always test a small patch first—this is key tips for plastering I learned the hard way.
When tackling existing damage, use a 3:1 ratio of fine sand to lime for patches. Reinforce weak spots with fibreglass mesh before skimming. Never rush—let each layer cure fully. Even seasoned pros like me face setbacks, but systematic fixes turn flaws into flawless finishes. If issues repeat, consult a specialist. Remember: patience and precision are the cornerstones of successful DIY plastering.
Skimming is the last step to get a smooth plaster finish that looks perfect. I pay close attention to every layer to avoid texture issues. Before starting, I check the surface for unevenness and apply primer for better adhesion.
Polishing is key here. I mist the surface lightly and use a steel trowel in circular motions for a seamless finish. Timing is everything—work too soon and it cracks; too late and marks stay. My tools? A magnesium float for even pressure and a specialist polisher for smooth finishes.
Skimming takes patience. Even with years of experience, I still improve my method every day. It’s not just about technique—it’s about practice. Each project teaches me about material consistency and tool angles. The result? Walls so flawless they reflect light evenly—showing that skimming is truly an art.
Keeping period features in UK homes right needs careful attention. I use traditional lime-based plasters for Georgian or Victorian homes. This ensures repairs match the original look.
My team and I make moulds to copy damaged parts. This way, repairs fit perfectly with the home’s design. We follow expert advice to keep the architectural heritage intact.
Choosing the right interior design for old homes is key. A skilled plasterer uses old techniques to make surfaces look like they’ve aged. This way, we add modern durability without losing the charm.
Restoring old homes not only makes them look better but also keeps their history alive. We blend old skills with new safety measures. This way, these features will last for years to come, keeping their beauty and strength.