Phone:
07389074312
Physical address:
9 Kynaston Cresent
Thorton Heath CR7 7BS
Phone:
07389074312
Physical address:
9 Kynaston Cresent
Thorton Heath CR7 7BS
Did you know 78% of UK homes show wall imperfections in the first five years? Uneven walls and bad jointing are common, affecting both new and old homes. This guide helps you fix your walls easily.
This step-by-step guide makes fixing walls simple. I’ve used my years of experience to cover everything, from spotting problems to getting a perfect finish. It helps you fix how to fix uneven walls and poor jointing yourself or know when to get help.
I focus on easy-to-follow steps, even for beginners. Each part builds on the last, using tools and methods that work in British homes. Learn how to fix ridges and gaps, improving your home’s look and value.
Before starting uneven walls repair, it’s key to find out why they’re uneven. Many homeowners jump straight into fixing without figuring out the cause. This often leads to the problem coming back.

Timber framing movement can make walls tilt, causing dips. If plasterers rush, they might not fill gaps between boards properly. This leads to uneven joints. Even small changes in humidity can make wooden frames swell, pulling plaster apart.
It’s important to tell if cracks or ridges are just surface issues or deeper problems. A small crack from drying plaster is minor. But a big crack across walls means there’s a bigger issue. Knowing this helps decide if you can fix it yourself or need a professional.
Understanding what causes uneven walls helps focus on the right fixes. Poor jointing solutions from quick fixes need to be redone. And if the problem is due to the environment, like bad ventilation, fixing that first is key. This makes the repair process more efficient and saves materials from being wasted on the wrong solutions.
Before starting any wall repair tips, check your walls carefully. Look at surfaces under a raking light to spot any issues. Use a spirit level and straight edge to find any unevenness. Small gaps or minor cracks are usually easy fixes, but big problems might need more work.

Sort out the damage into three levels: small, medium, or big. For joints, watch for peeling tape, uneven compound, or gaps over 2mm. Focus on fixing the most urgent and risky problems first. This way, you use the right materials and avoid making things worse. A clear plan saves time and money.
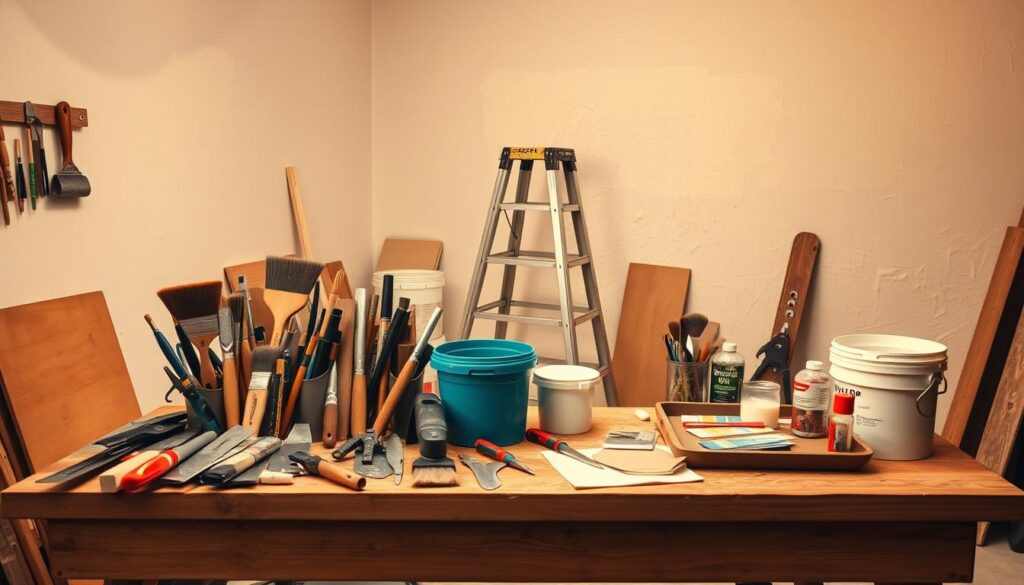
Before starting any diy wall repair, make sure you have the right tools and materials. Good equipment makes wall jointing techniques easier and gives you professional results. Here’s what I suggest:

Choosing materials depends on the repair needed. For professional wall fixing, use setting compounds like Thistle Board Finish for lasting results. Pre-mixed compounds save time but might not be as strong. Fibreglass tape is better at resisting cracks than paper tape in tough spots.
Tools like corner trowels or mud pans make complex joints easier. If you’re watching your budget, choose economy-grade knives and reusable sandpaper. Always wear safety gear like goggles and disposable overalls. Protecting yourself is just as important as using the right tools.
Good home improvement tips begin with preparation. Before you start diy wall fixing, get your space ready. Move furniture to a safe spot or cover it with thick dust sheets.
Use plastic sheeting over doorways to catch debris. Drop cloths protect floors from spills.
Lighting is key in wall renovation tips. Adjustable lamps help spot uneven patches by casting shadows. Open windows for better air when working with materials that give off fumes.
Have a mixing station near your work but away from heat. Keep clean-up buckets and sponges handy to keep the flow going.
Proper prep stops mess after repairs. Follow these steps for a clean workspace and clear wall views. Focus on safety and organisation for a smooth diy wall fixing process.
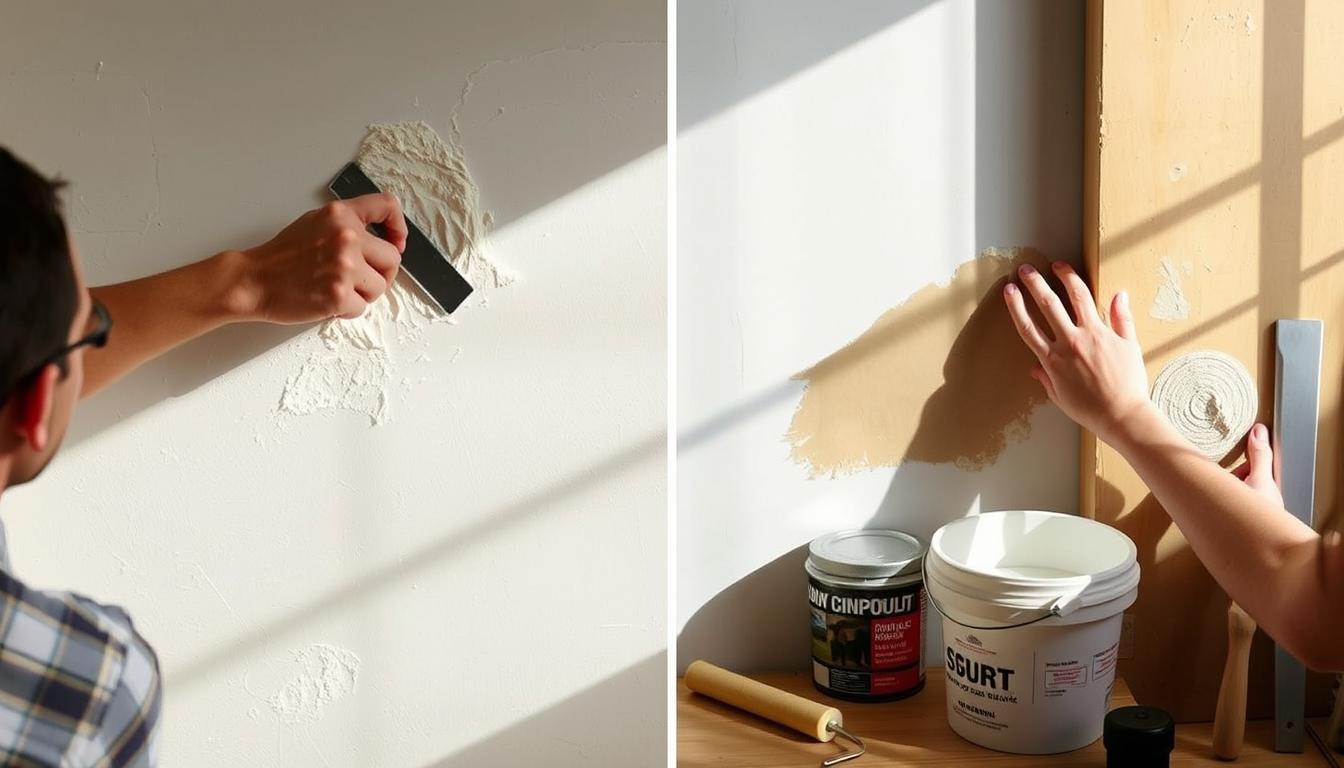
Every wall renovation guide says preparation is key. I start by cleaning surfaces with a damp cloth to get rid of dust and grease. Grease spots can stop joint compound from sticking, so this step is essential in any diy wall renovation project.
For uneven wall restoration, I mark high spots with a spirit level. Sand these areas with 120-grit paper until smooth. Low spots need multiple thin layers of filler, dried and sanded between coats.
Moisture is a silent enemy—I use a damp meter to test walls in kitchens or bathrooms. Readings over 10% mean delaying work until the area dries.
Testing wall stability is crucial. Tap surfaces with a hammer; hollow sounds mean underlying issues. Address these first to avoid future cracks. This groundwork might take time, but it ensures repairs stay intact for years. Skipping this phase risks weak bonds, making all your efforts temporary.
For small dents or shallow cracks, a patching walls tutorial is key. Begin by wiping the area clean with a damp cloth. For damage less than 3mm deep, use a lightweight filler. It shrinks less and sands well.
Apply the filler in three thin layers, letting each dry before adding the next. This method ensures a smooth finish.
Feathering—gradually tapering filler edges with wider knives—makes the repair invisible after painting. For hairline cracks, don’t just fill them. Instead, V-notch the crack with a utility knife before applying filler. Add fibreglass mesh for extra strength.
After drying, sand lightly with 180-grit paper. Wall smoothing techniques like this help prevent future cracks and give a professional look. Always check if the filler works well with your wall type before starting. These steps are essential for keeping walls looking good between professional touch-ups.
Dealing with big wall problems needs a wall levelling tutorial. Issues like major cracks, deep holes, or uneven areas need more than just a quick fix. Here’s how to tackle these big challenges:
Structural cracks need extra care. Clean the crack well, then cover it with fibreglass mesh tape. Use an elastic compound, like Bostik or Polycell, that stretches with the building. Wait for it to dry fully before smoothing it out.
For really uneven walls, use guide battens for straight lines. Attach straight boards horizontally, then fill the gaps with compound. This method helps fix very damaged areas.
If fixing the wall takes more than two days, lightly sand each layer before moving on. In extreme cases, it might be better to replace some plasterboard. Always be careful when using power tools or heavy materials.
Fixing gaps between plasterboard joints needs careful work. Follow these wall jointing tips for seamless seams. Start by removing old tape with a utility knife, making sure not to widen the gap. Then, apply a thin layer of joint compound and press in the new paper tape. It’s important to avoid wrinkles here for a strong finish.
Corner joints need special wall jointing solutions. Use metal corner beads in wet compound for inside corners. Outside corners need two layers of paper tape for strength. Always smooth edges outwards for a perfect finish. When fixing holes, use thin coats to avoid showing through paint. For popped nails, drill new holes and use longer screws before adding compound.
Jointing repair steps must handle material movement. Never use damaged tape again—remove it fully for a good base. Check repairs under bright light while sanding to find any flaws. Professional results come from patience: let each layer dry fully before moving on. These steps ensure joints are invisible, even in bright spots.
Some wall issues need expert wall fixing for top results. Here’s how to handle tricky cases:
Heavily textured surfaces like Artex or popcorn finishes need special care. Try these steps:
Water-damaged walls need a detailed check. Use a screwdriver to find soft spots. For light damage, use diy wall leveling compounds.
Severe rot means you need to replace panels. Seal repaired areas with mould-resistant primer to stop regrowth.
Removing many wallpaper layers? Steamers and enzyme-based strippers help avoid damage. After removing, fix scratches with wall repair techniques like filler compounds. Sand the area smooth before priming.
Poor paint adhesion from many layers needs sanding. Apply a specialist primer for multi-coat surfaces. Test small areas first to check compatibility.
If unsure about safety or structure, get a certified contractor. These methods ensure lasting results without risking wall stability.
Learning wall smoothing methods makes your repairs look perfect. Start by sanding with 120-grit paper to shape the wall. Then, use 220-grit for a final smooth wall finishing touch. Always sand in the direction of the compound layers to avoid marks.
Keeping dust away is key. Attach a vacuum sander to collect particles during work. For the final touch, try wet sanding with a sponge block. This reduces airborne debris and polishes the wall surface smoothing result. Make sure to ventilate the area by opening windows or using fans.
For a minimal-sanding approach, apply a thin skim coat with a 6in knife. Dampening a sponge slightly before pressing into wet compound helps even out ridges. Test the compound consistency by spreading a small batch first. Thicker mixes fill gaps, while thinner mixes create ultra-flat finishes.
Before painting, check under raking light. Move a bright torch at a 45° angle to spot any imperfections. Fix flaws with a 4in knife and fine compound, then re-sand lightly. Professional wall smoothing methods like this ensure results last for years without visible seams or texture breaks.
I follow the three-coat system for top-notch jointing. First, a thin layer embeds tape. The second builds structure, and the third smoothes edges. Each layer must dry completely—test by pressing lightly.
In UK climates, extended drying in damp areas prevents weak joints. Wall jointing solutions like the “union technique” manage intersecting seams. The “crown method” guards against cracks in settling structures.
I suggest using compounds like Polycell RapidSet for structural work and Knauf EasyFix for final layers. Clean tools after each step to avoid residue buildup. Jointing repair tips include using thin coats and avoiding aggressive sanding.
Patience ensures longevity—hurried repairs show flaws later. Proper techniques paired with quality materials guarantee enduring, seamless results.
Environmental factors like humidity require adjustments. In high moisture, extend drying times by 24 hours. Use a laser level to check alignment before final coats.
Microfibre pads and fine-grit sandpaper refine edges. Prioritise tool hygiene—wipe blades after each use to maintain sharpness. These steps ensure joints blend invisibly into plasterboard surfaces.