Phone:
07389074312
Physical address:
9 Kynaston Cresent
Thorton Heath CR7 7BS
Phone:
07389074312
Physical address:
9 Kynaston Cresent
Thorton Heath CR7 7BS
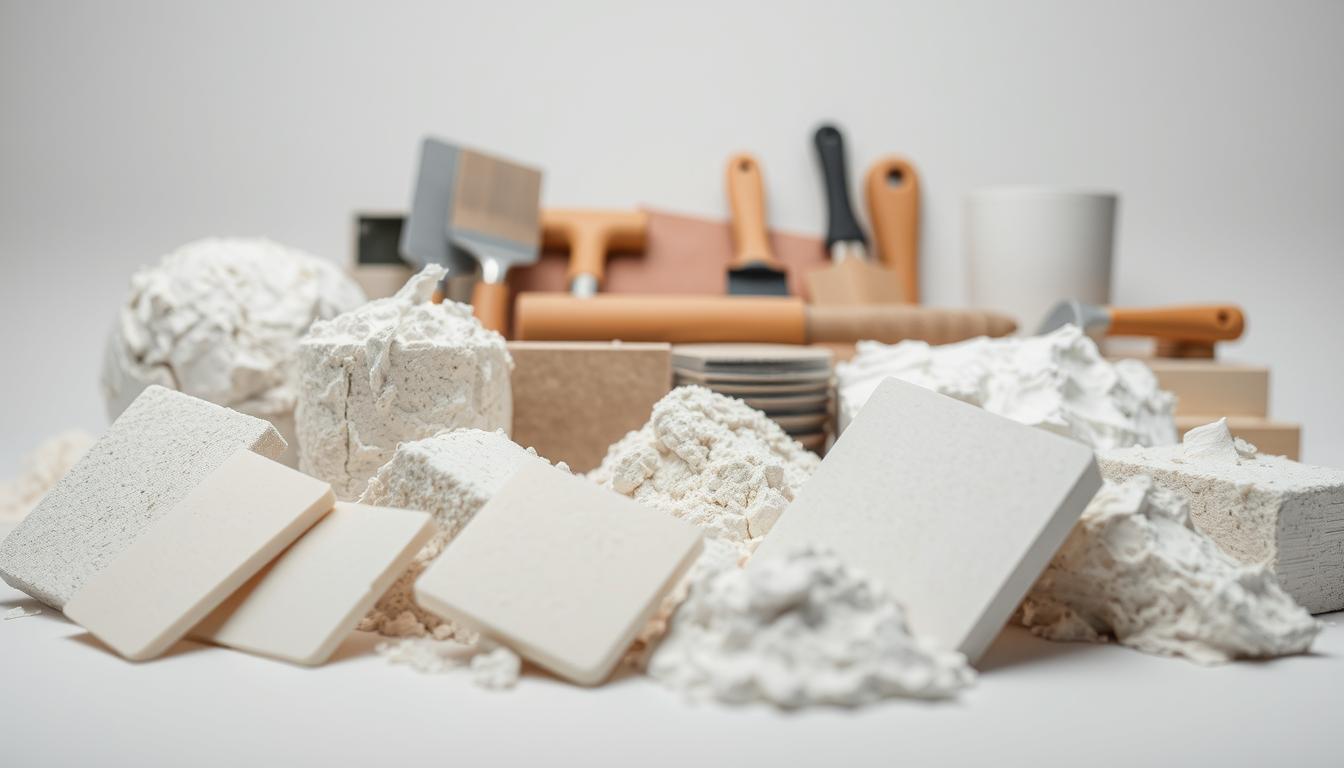
Choosing the right plaster is key for any home improvement. This guide helps you pick the best plaster by looking at durability, looks, and how well it works. You’ll learn about old lime-based plasters and new gypsum ones. Knowing about plaster types helps your project look good and work well.
In the UK, I’ll show you how different plasters meet different needs. Whether you’re fixing up an old place or making a new one, the right plaster makes it strong and looks great. This guide gives you tips for British building standards and what’s available in the market.
Choosing the right plaster is crucial—it affects your project’s durability and safety. Using the wrong plaster compatibility with your surface can cause expensive problems. Proper substrate preparation is key to sticking and avoiding cracks or peeling later.

In Britain, plasters need to handle moisture well. Picking the wrong one can lead to water damage in wet areas like walls or basements. I’ve seen projects fail because of the wrong choice on porous surfaces. Bad choices lead to:
First, check your surface type and its environment. For example, brick walls need a flexible plaster, while plasterboard inside needs a light mix. Skipping substrate preparation steps like cleaning or priming can void warranties and shorten life. Focus on these to avoid costly fixes and ensure your plaster works as it should.
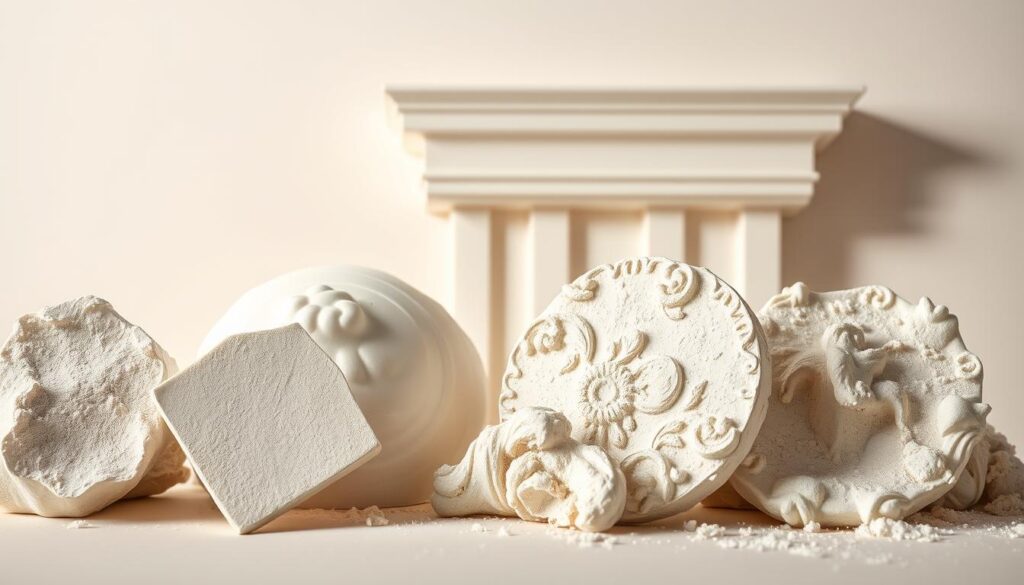
Looking into the lime plastering history shows how heritage plastering became key in British building. I’ll show how techniques changed from Roman lime mixes to the fancy finishes of Georgian and Victorian times. These changes are crucial for today’s conservation and restoration work.

Romans first used lime-based plasters in Britain, mixing local stuff for strong walls. Later, the 18th and 19th centuries saw new historic plaster techniques. Georgians made fancy cornices and textures, while Victorians worked on detailed moldings and ceiling roses.
Today, conservators mix old lime plasters with new materials. This keeps buildings safe while staying true to their past. It’s a blend of old and new, keeping British building traditions alive in both old and new buildings.
Lime plaster is perfect for restoring historic buildings in the UK. It’s a breathable plaster that lets walls breathe. This stops damp problems often found in old homes. Using traditional lime in heritage restoration keeps the building’s original feel.
There are two main types: non-hydraulic lime (lime putty) and hydraulic lime. Lime putty is best for dry places inside. Hydraulic lime works well in damp areas, like outside walls or basements. Both keep walls breathable, which is key for old buildings.
Experts must use old-school methods to make lime plaster last. It’s slower than modern plaster but keeps the building’s look. Lime plaster meets UK rules for preserving historic buildings, keeping their value and function.
Gypsum plaster is key in UK building today. It’s efficient and flexible for many interior jobs. It’s the core of modern plastering, supporting everything from the base to the final look.
Modern plasterboard finishing uses gypsum’s quick dry time, saving up to 30% of time compared to lime. It’s light, cutting down on waste and costs. But, it’s not water-proof, so it’s not for bathrooms or basements without extra protection.
For beginners, one-coat plaster is best. It’s easy and less likely to cause problems. Bonding plaster is great for new drywall. Always check the surface and moisture before choosing to ensure it lasts.
I’ll look at special plasters for certain needs. Acoustic plaster helps control sound between rooms. Thermal insulating plaster makes older homes more energy-efficient. Moisture-resistant plaster keeps damp away in wet places. And decorative finishes like Venetian polished plaster make walls look great. These plasters are perfect when usual ones won’t do.

Special plasters cost more at first but offer special benefits. Think about what you need: soundproofing, better insulation, fighting damp, or unique looks. Choose what’s most important to you: better performance or stunning looks.
Getting your substrate preparation right is key to a great plaster job. First, check your wall’s background suction. Different materials like brick or plasterboard need different methods. Make sure to clean the surface well, removing dust, grease, or old paint.
If your wall is damaged, fix dampness or salt issues first. Use a damp meter to find out moisture levels. Treat rising damp with the right barriers. Then, fill cracks with special filler and apply PVA bonding agents for better plaster adhesion.
On timber or concrete, prime with Polycell Universal Primer. This helps the plaster stick better.
Mixed substrates, like walls with both brick and insulation board, need careful analysis. Test suction levels with a water spray test. If it absorbs water quickly, it has high suction. Use plaster primers like Ronseal Universal Primer to balance suction rates.
Always check if the substrate, primer, and plaster match. For example, lime-based plasters are best on breathable surfaces. Gypsum works well on primed plasterboard. This careful planning ensures your plaster lasts long and avoids expensive fixes.
Plaster finishes greatly affect how a room looks and feels. A smooth finish plaster is perfect for a classic look. It’s ideal for areas like hallways or living rooms where a clean look is important.
For a modern twist, consider textured finish options. These can range from subtle to bold patterned effects. Venetian polished plaster gives a marble-like shine, great for kitchens or bathrooms. If you want a rustic feel, rustic finishes with natural materials add warmth to any room.
Think about how finishes affect light. High-gloss polished plaster makes rooms look brighter. Rustic finishes create a warmer, softer light. Busy areas like corridors need durable smooth surfaces.
Regular upkeep differs. Smooth walls need occasional cleaning. Textured coatings can trap dust, so they need more care.
Professional plastering needs the right tools for each task. A basic set includes a plastering trowel for applying layers and a hawk to hold materials. A plastering float smooths surfaces, and mixing tools make sure the mix is even. For tricky jobs, specialist plastering equipment like corner tools or texturing devices are key.
Traditional wooden tools are still loved for soft finishes, but modern plastics or metals last longer. For detailed work like coving or cornicing, specialist plastering equipment like cove tools or edge guards are needed for clean lines. Texturing combs or groovers add decorative patterns. Choose tools that are easy on your body to avoid strain during long hours.
Start with the basics, then add special tools as you get better. Renting expensive items like corner trowel sets for one-off jobs saves money. Always check tool edges for sharpness and replace worn handles quickly.
To get the plaster right, start by measuring every surface. First, find the total area of walls and ceilings. Then, take off the space for windows and doors. This gives you the area you need to plaster.
The thickness of the plaster also matters. A 15mm layer needs more bags than a 10mm one. Also, rough surfaces might need 20–30% more plaster for a smooth finish. Always round up to avoid running out.
Ignoring these details can lead to expensive delays. Make sure to double-check your calculations, even for multi-coat systems. Getting it right saves time and money.
When planning a project, comparing plaster costs is key. Choosing budget-friendly options can save money upfront. But, it’s also important to think about long-term costs and value for money. This part looks at how material choices affect both your wallet now and later.
In high-traffic areas, choose durable plasters. Knauf KCC and Bostik’s EcoPlaster are good examples. They need less upkeep. For ceilings or walls that don’t get much use, Gyproc might be enough. But, don’t skimp on exterior walls, as they need to resist moisture.
Choosing the right plaster for your project is about value for money. Premium plasters might cost more but need less fixing. Budget options are okay for quick fixes but might cost more in the long run.
Looking at plaster costs over time means balancing initial savings with future needs. My tip is to spend wisely. Focus on quality where it matters most for your project’s look and structure. This way, you get the most value without sacrificing performance.
Choosing plaster means balancing what’s good for the planet and our health. Eco-friendly options like lime and clay are great. They’re made from natural materials and are better for the environment.
Clay-based plasters are perfect for homes that want air to move freely. They help keep humidity levels right. For those with allergies, special plasters can help reduce reactions.
Low VOC plasters also improve the air we breathe. They have fewer chemicals, making our homes healthier.
Health-conscious people should choose low-VOC products. This avoids irritants. Always wear masks and gloves when working with dusty materials, even if they’re natural.
By focusing on these points, homeowners can pick materials that are good for the planet. They won’t have to sacrifice air quality or safety in their homes.
As a seasoned plasterer, I’ve seen many projects fail due to avoidable errors. One common issue is plaster cracking, often caused by not priming surfaces properly. Skipping or applying PVA bonding agents unevenly weakens the bond. Always clean surfaces well and check moisture levels before starting to avoid costly mistakes.
Mixing errors can lead to uneven finishes. Too much water makes plaster weak, while too little causes lumps. Stick to the manufacturer’s instructions and discard leftover mix to prevent problems. Testing small patches early can catch issues before they spread.
Ignoring the environment can lead to long-term issues. Fast drying in hot rooms can trap moisture, while cold slows curing. Use lime-based plasters in damp areas and install expansion joints to manage movement. These steps help avoid cracking, as discussed earlier.
Tools and techniques are crucial. Overworking wet plaster can trap air, causing pinholes. Apply plaster in thin layers and smooth with consistent pressure. Regular training and following this guide’s advice can improve your technique, reducing mistakes. Paying close attention to detail ensures professional, durable results every time.