Phone:
07389074312
Physical address:
9 Kynaston Cresent
Thorton Heath CR7 7BS
Phone:
07389074312
Physical address:
9 Kynaston Cresent
Thorton Heath CR7 7BS

Did you know that up to 20% of plastering materials are wasted in the average UK project? With material costs rising by 15% over the past year, this waste translates to thousands of pounds lost annually. As a professional with over a decade in the trade, I’ve seen how inefficient practices inflate budgets and timelines. This guide reveals proven methods to achieve cost-effective plastering that balances budget constraints with high-quality results, ensuring finishes that last.
Through practical strategies like optimising material selection, precision mixing, and refined application techniques, this article addresses the core challenges faced by both professionals and DIYers. The following sections demonstrate how to save time and materials while maintaining standards that meet or exceed industry benchmarks. By adopting these methods, readers can reduce expenses by up to 30% without sacrificing durability or aesthetics.
Rising material costs are changing the plastering industry. In the UK, plasterers now face higher prices for gypsum and lime, up 22% from 2022. These hikes, along with supply chain delays and inflation, are making plastering more expensive. To stay ahead, professionals need to find ways to make plastering cheaper without losing quality.
Cost-effective plastering isn’t about cutting corners. It’s about using materials wisely. By cutting down on waste and improving how they work, contractors can keep costs down. This way, they can offer good prices without losing their high standards.

Plasterers who get good at this become leaders in cost-saving. They can meet client budgets and still deliver lasting results. This approach helps them stand out in a tough market.
Choosing the right optimal plastering tools is key to efficient plastering. Even with a tight budget, investing in durable tools like hawks, trowels, and mixing buckets is crucial. These tools help avoid rework and save money, following cost-efficient plastering methods.
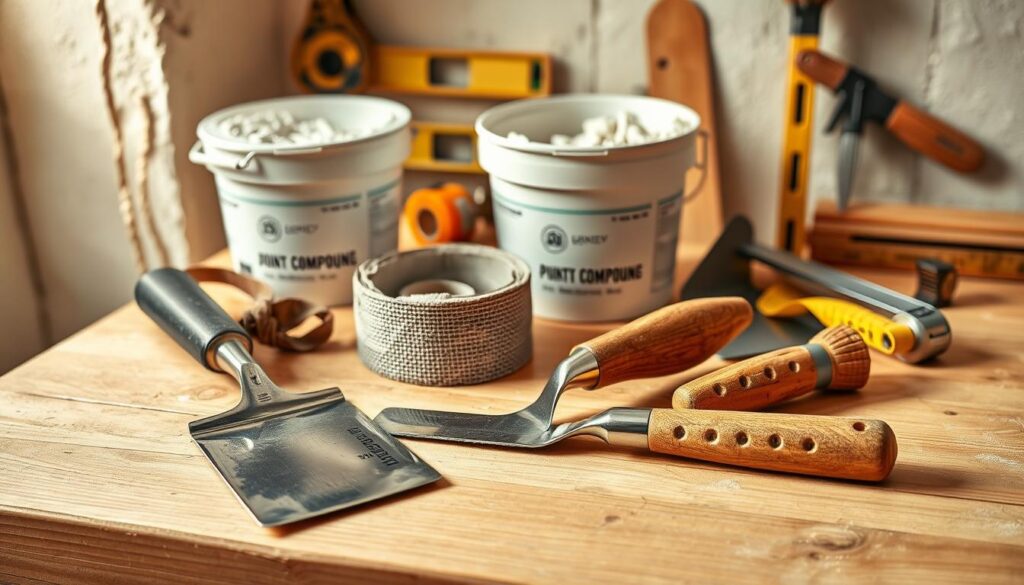
Power tools like Makita’s 18V mixer can cut mixing time by 40%. This makes them pay for themselves after just 10 projects. Bosch plastering machines also help, reducing surface prep errors by 25% and cutting material waste.
Use this formula to figure out when tools will pay for themselves: tool cost ÷ (labour saved per use × profit margin).
My maintenance routines help tools last longer:
Keeping tools in good condition can save up to 60% on replacement costs. This ensures cost-efficient plastering methods stay effective over time. Always choose quality over price for essential tools. They save time and materials in the long run.
Good project planning is key to efficient plastering techniques that save time and money. I start by measuring every room’s size with a laser measure to avoid mistakes. It’s important not to overbuy materials or underestimate the time needed, as this can waste money.

Setting realistic timelines is crucial for plastering productivity. I plan new drywall projects in 2-week blocks, with a 30% buffer for delays. For historic restorations, I add 40% to the timeline due to drying issues in older masonry. Working with electricians and plumbers helps keep the project moving, with crews working 85% of their scheduled time.
When planning the work, I start with ceiling work to avoid drips on finished walls. Using colour-coded markers helps teams move efficiently between wet and dry areas. Pre-mixed plaster saves 20% of setup time, making the project more productive. Good planning turns estimates into effective workflows, reducing waste without losing quality.
Choosing the right materials is crucial for material-efficient plastering. In the UK, you can pick from lime plasters to modern gypsum-based options like Knauf or Weber’s Keraquick. Knowing what each material does helps avoid expensive errors. For example, lime plasters are good for old buildings but need skilled hands. Gypsum, on the other hand, dries faster for quicker commercial jobs.
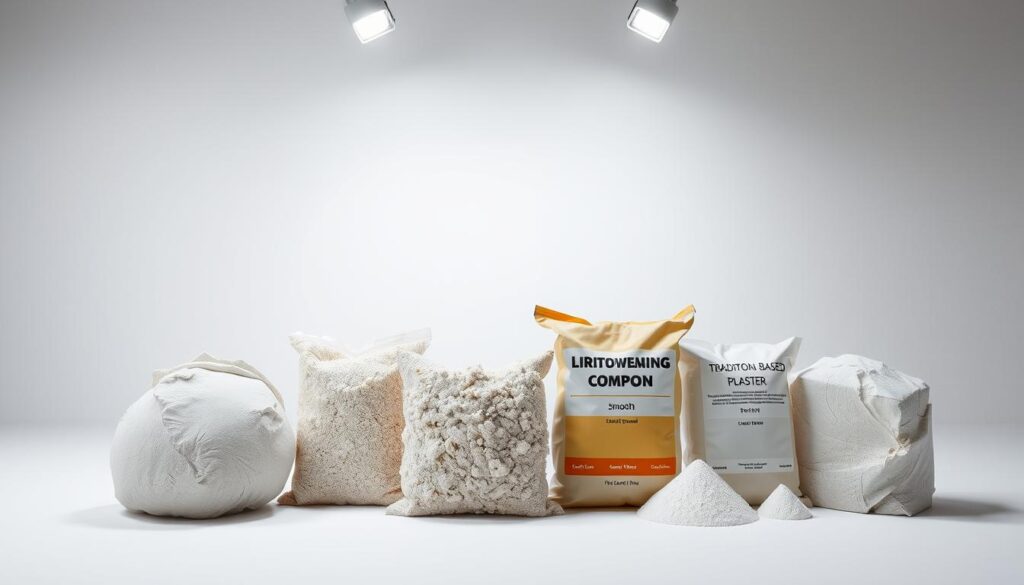
Steer clear of cheap mixes from big-box stores. They often need two coats, doubling the labour cost. High-quality polymers, like Anova’s PM300, cost 15% more but save 20% in time. This leads to better quality plastering results. Testing samples on-site makes sure they stick well, avoiding extra work.
For outside walls, breathable plasters like Earthscan Hydrashield cost 10% more than cement-based ones. But they stop mould growth for good. Choosing wisely means staying on budget without losing quality or lifespan.
My way to optimize plastering costs starts with knowing how materials, labour, and quality work together. Every choice must focus on value, not quick fixes. This approach is key to affordable plastering solutions that last.
Decision-making is systematic. Money-saving plastering advice begins with the blueprint. I pick materials wisely, like using gypsum for small fixes or polymer-modified plasters in damp areas. I also plan tasks to save time, like priming walls before the base coat.
Quality is always a priority. I use spirit levels and comb rules to ensure 3mm layer thickness. This avoids extra work, saving time and materials. Every choice aims for a balance between initial cost and long-term benefits. True savings come from a complete strategy, not quick fixes.
Getting ready is key to reduce plastering costs and optimal use of resources. I begin with a detailed check of the surface. I look for cracks, moisture, or debris that might stop the plaster from sticking well. Not doing this can lead to expensive fixes later.
For masonry, I clean it with wire brushes and fix spots with cement. Drywall needs sanding and sealing of gaps. On painted surfaces, I use chemical strippers to remove old paint, which helps the plaster stick better. These steps cut down material waste by 30%.
When applying primers, I only do it where it’s needed. On brick, a bonding agent is a must, but on smooth surfaces like plasterboard, it’s not needed. This saves money without compromising on sticking power.
By following these time-saving plastering tips, I save 20% on labour and use less material. Proper preparation means the plaster sticks right the first time, avoiding the need for scraping and recoating.
Getting the mix right is key to materials efficiency plastering. I check the plaster’s consistency first. It should be smooth but firm, without any lumps. I look for even texture and do tactile tests to make sure it’s perfect.
Bad mixes can lead to slumps or cracks. This means I have to redo the work, wasting materials.
Calculating batch sizes is crucial. I consider the project’s size and the weather. If it’s too humid, I use smaller batches to stop the plaster from drying too fast.
When it gets too hot, I adjust the mix by 5-10%. This keeps the plaster application pace in line with the material use, cutting down on waste.
My economical plastering methods focus on timing. I mix only what can be applied in 30-45 minutes. This plastering materials management approach cuts down on waste and rework. Every step, from measuring to mixing, aims to use materials efficiently without sacrificing quality.
Learning the right way to use a trowel is crucial for affordable plastering techniques. It’s all about the right pressure and angle to spread the material evenly. I focus on small, precise movements to avoid using too much.
Using thin layers can save 20-30% of material. I apply three thin coats instead of one thick one. This method dries faster, reducing shrinkage and cracks.
For flat finishes, I use straightedges and rubber scrapers to remove excess plaster early. This time-saving plastering method keeps surfaces flat without needing sanding or rework. I check the surface at 1m intervals to catch any mistakes before they set.
These techniques work well on both interior walls and ceilings. By combining trowel control with layered applications, I can save up to 40% on material costs. It’s all about using what you need, not what you think you might need.
Adapting methods to project specifics is key for time-efficient plastering. I focus on workflows that meet each project’s needs. This way, steps are not repeated or delayed. Here are tailored approaches for common scenarios:
Plastering techniques must evolve with site conditions. Focus on tools that simplify complex areas—like angle trowels for stair nosings. Also, adjust drying times in humid climates. These adjustments turn challenges into opportunities for faster, cleaner finishes without cutting corners.
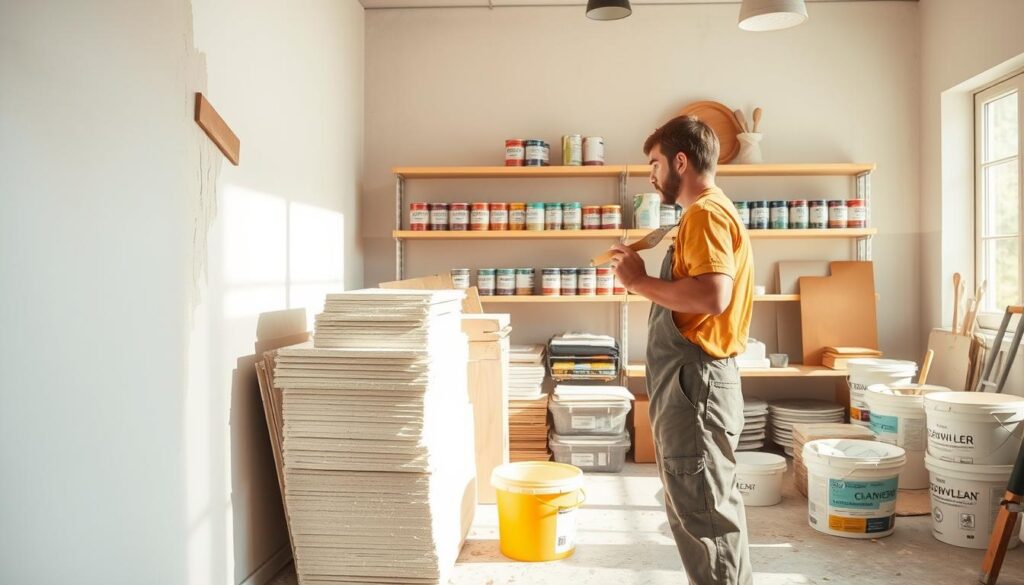
Storing leftovers properly is crucial for cost-effective plastering solutions. Keep partially used dry mixes in airtight containers in cool, dry places. Make sure to label each container with the date and what’s inside. Mixed plaster has a shorter shelf life, so it’s best to use small amounts to avoid it going bad. Always check the manufacturer’s guidelines for how long it lasts.
Turning waste into something useful is creative and cost-effective. You can use leftover plaster to make textured samples for clients or decorative items like corner guards. Even small pieces can be used for patch repairs or making tool organisers. These money-saving plastering techniques help you get more out of your materials.
Planning ahead reduces plastering expenses in the long run. When planning a project, add 5-10% to your material needs for waste. For big projects, order materials in stages to match the work schedule. Also, buying in bulk can lead to discounts. Keeping track of how much you use helps you plan better for future projects.
My strategy is to store leftovers, reuse them, and plan better for future jobs. This approach reduces waste and keeps quality high. It shows that smart management of resources is the best cost-effective plastering solution.
Spotting problems early saves time and money. I first look for cracks, bubbles, or uneven areas. Cracks might show poor adhesion or drying too fast. Bubbles could mean air got trapped during application.
A damp cloth or mist spray can fix partially dried plaster, avoiding full removal. For small cracks, a thin layer of plaster mixed with bonding agent works well. This method fills gaps without stripping walls. If plaster delaminates, check if the substrate was clean before applying.
Start with small patch tests to ensure fixes work before doing more. Selective repairs are crucial. Use premixed joint compounds like Bostik or Ronseal for touch-ups instead of redoing big areas.
Uneven texture? A fine-edged trowel smooths surfaces without sanding. Knowing when to stop and adjust is key for quality plastering on a budget. For example, if plaster sets too quickly, switch to a slower-setting product like Knauf’s gypsum-based mixes.
Proactive steps lead to long-term gains. Adjusting mixing ratios or using polymer-modified plasters like Saint-Gobain’s reduces future cracks. Documenting what works for specific substrates helps build better strategies over time. Budget-friendly plastering means learning from mistakes but not repeating them. Efficient methods focus on precision, keeping projects on track without overspending.