Phone:
07389074312
Physical address:
9 Kynaston Cresent
Thorton Heath CR7 7BS
Phone:
07389074312
Physical address:
9 Kynaston Cresent
Thorton Heath CR7 7BS
Quote in 24h. Booked in 48h. Waste cleared. Smooth walls, No mess
We respond fast, work clean, and leave your home better than we found it.
We take pride in the quality of our tape and jointing services. Every project we complete comes with a written guarantee, ensuring top-tier craftsmanship and long-lasting results. If any issues arise, we will address them promptly at no extra cost to you. Your satisfaction is our priority, and our commitment to excellence means you can trust us to deliver flawless, professionally finished surfaces every time.
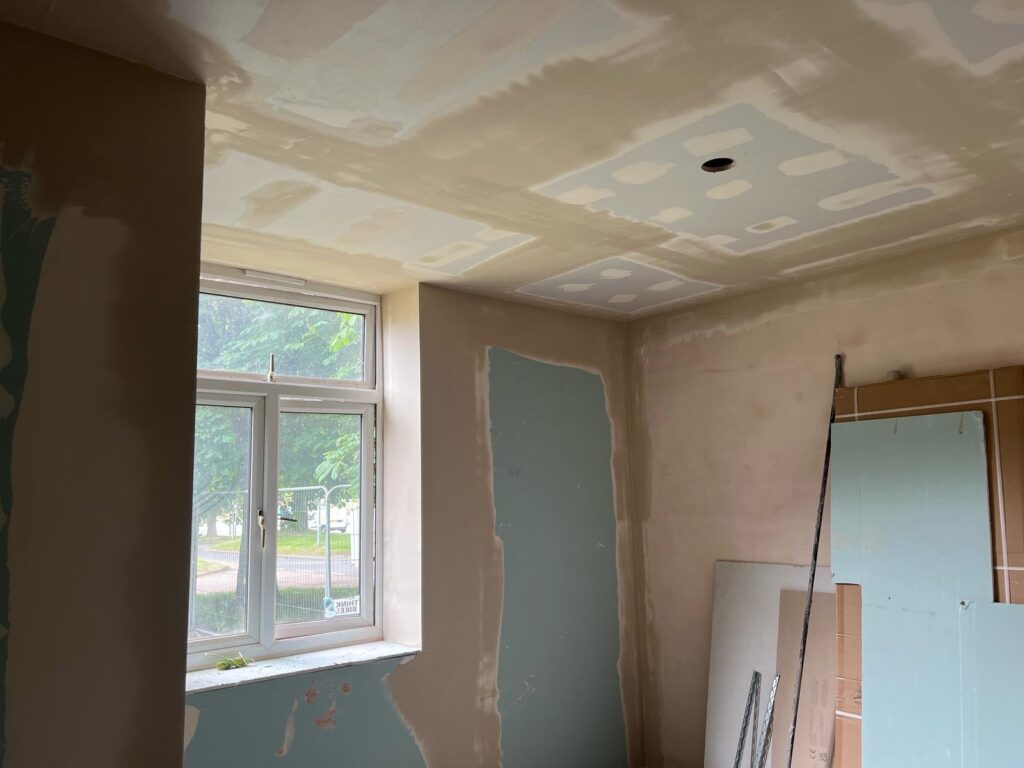
We smooth walls and ceilings, eliminating imperfections to create the perfect base for paint or wallpaper.
We professionally seal joints, seams and cracks to ensure durability and prevent future problems.
Our experts apply a thin, high-quality plaster layer for a flawless, polished interior finish.
We eliminate surface defects, dents and cracks, bringing the walls to their original smoothness.


Liubomyr Iliuk – CEO & Founder

Trustindex verifies that the original source of the review is Google. Professional, clean and on time! I-L & V Renovation did a fantastic job from start to finish. The team was polite, respectful of our home, and left everything spotless after the work. The quality of the plastering was excellent, with a smooth and flawless finish. We really appreciated their attention to detail and clear communication throughout the project. Would definitely use them again and recommend to anyone looking for reliable and skilled tradespeople.Trustindex verifies that the original source of the review is Google. Is truly professional! The quality of work is excellent, the service is attentive and fast. I highly recommend them to anyone looking for top-notch results!Trustindex verifies that the original source of the review is Google. We worked with I-L & V Renovation Tape & Jointing LTD on a large commercial unit in South London. The results were brilliant — smooth walls, precise jointing, and a very clean, professional finish. The team was always punctual and easy to communicate with. They completed the project on time and on budget. Highly recommended for any large-scale renovations. We’ve already recommended them to others in our network.Trustindex verifies that the original source of the review is Google. This is the kind of company you want to work with. Hardworking, honest, and extremely skilled. They treated our project like their own. We had a tough deadline, but they made it happen — with amazing results. The quality is visible in every corner. Lyubomyr, the director, was a pleasure to work with — always professional, responsive, and kind. Thank you so much to the whole team at I-L & V Renovation. Highly recommended!Trustindex verifies that the original source of the review is Google. We hired I-L & V Renovation Tape & Jointing LTD to do decorative plasterwork in our home — and the result was excellent! The work was completed to a very high standard, on time, and everything was left clean and tidy. What stood out is that the company director personally oversaw the work, which gave us great confidence in the quality. Some of our friends have already used their services based on our recommendation, and they were also very happy. Highly recommended!🔥🤝
Skilled Workmanship – We pride ourselves on precision and attention to details
Reliable & Professional – We work efficiently to meet deadlines and surpass expectations.
Impeccable Finishes, Exceptional Craftsmanship – See the Quality for Yourself! If you have a project in mind, trust us to bring it to life with precision and expertise.


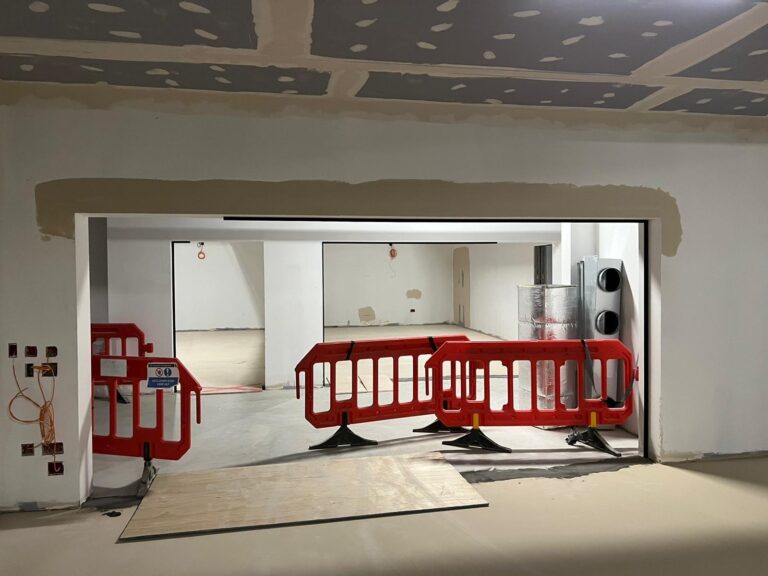
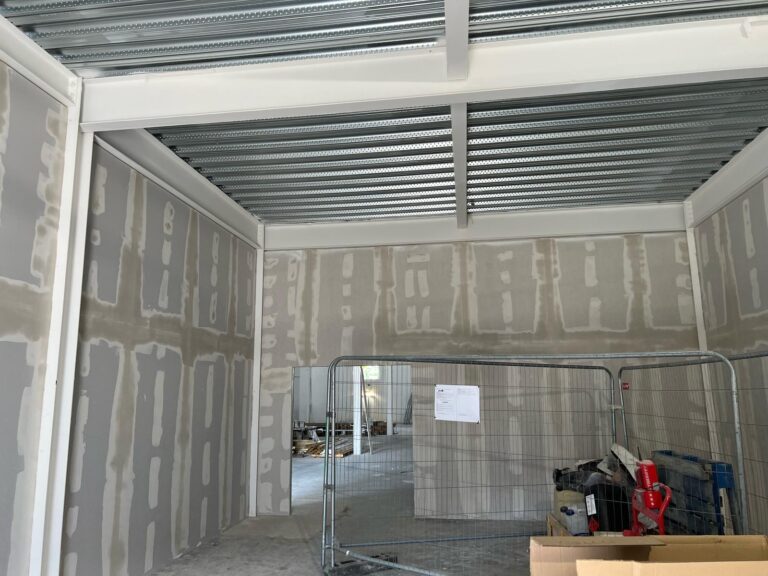
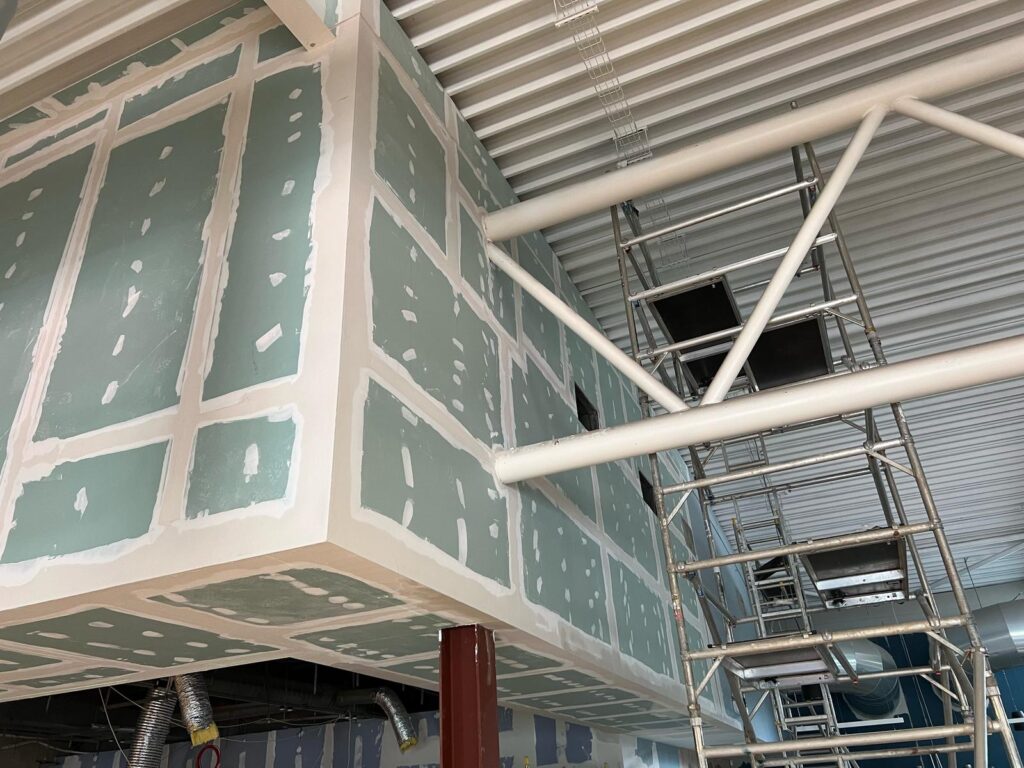
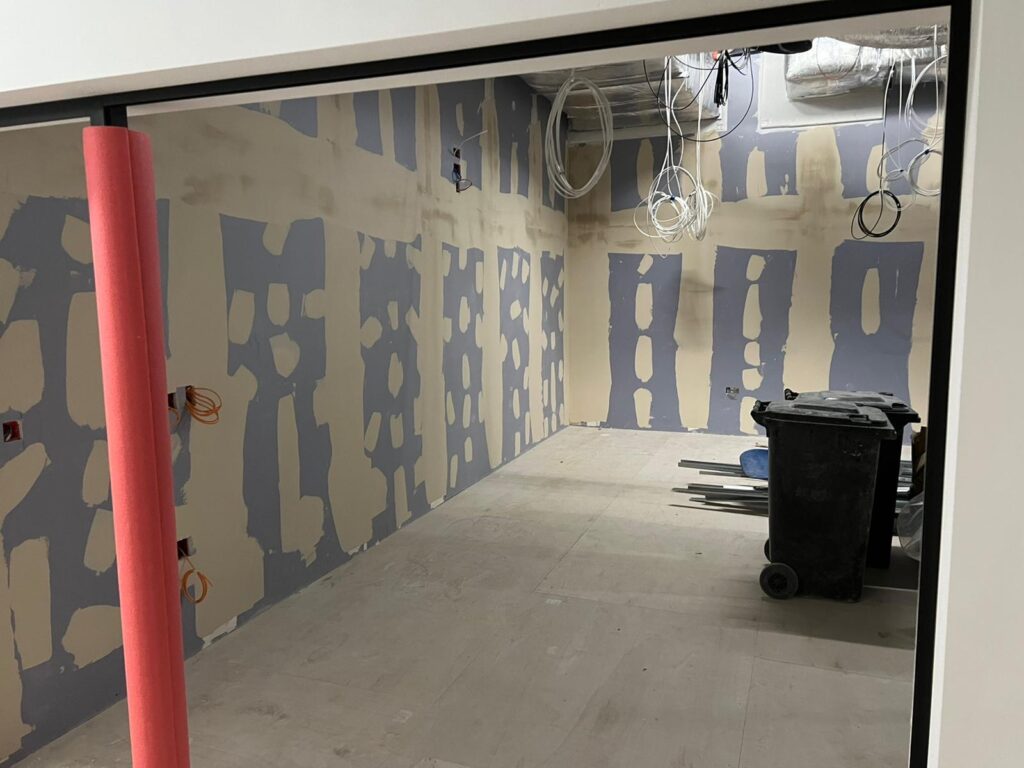
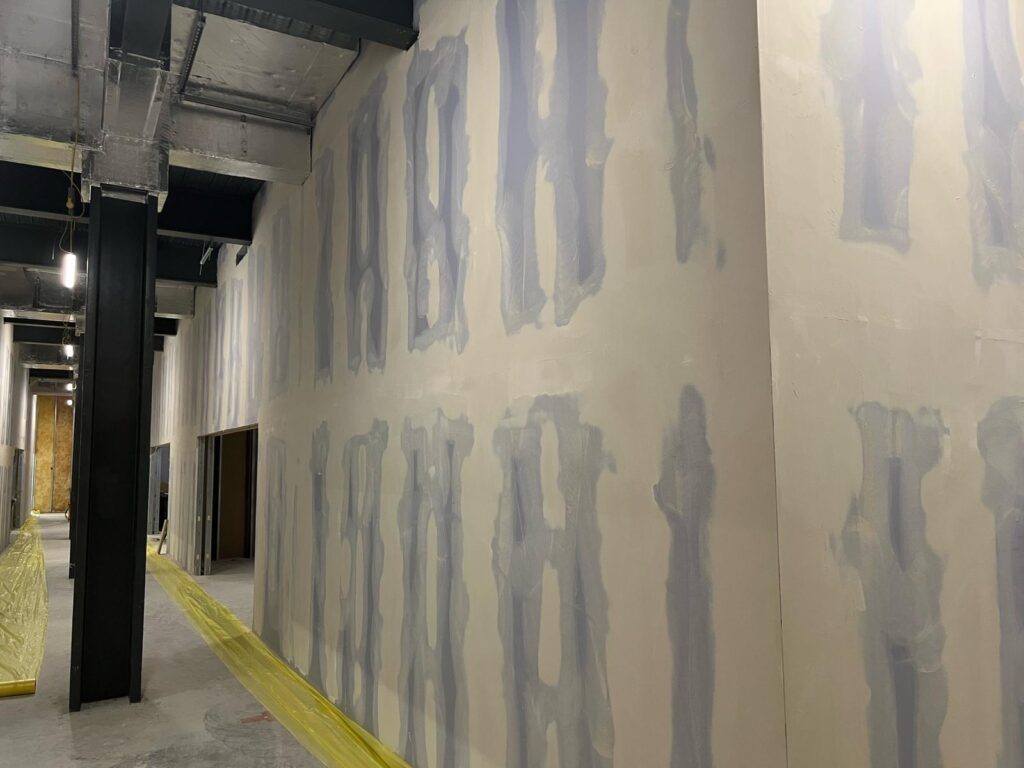
We specialize in completing projects where jointing and finishing surfaces are required. Whether you’re renovating an old space, refurbishing a room, or rebuilding from scratch, our team ensures smooth, flawless finishes that bring your vision to life.
From intricate jointing to perfect plastering, we handle every detail with precision, making sure your surfaces are ready for the next stage of your project.
We are fully insured and you can enjoy complete peace of mind with our customers satisfaction guarantee. Call us today 07365 408004
Ready in Days – Not Months
The terms plastering, jointing, and smoothing are related to wall and ceiling finishing, but they have distinct purposes:
Plastering
Jointing
Smoothing
The drying time for plaster before painting depends on several factors, including thickness, type of plaster, humidity, and temperature. Here’s a general guide:
Thin Skim Coat (1-2mm thick) → 24-48 hours
Standard Plaster Coat (2-5mm thick) → 3-7 days
Thick Plaster or Multi-Coat Application → 7-14 days
Full Wall Plastering on Brick or Block → 2-4 weeks
✅ The plaster changes from dark brown/pink to a uniform pale color (light pink or beige).
✅ The surface feels cool but dry to the touch.
❌ If it still feels damp or dark in places, wait longer before painting.
🚫 No! Painting too early traps moisture, leading to peeling, bubbling, or mold issues.
✔️ Use a mist coat (watered-down emulsion) as the first layer once fully dry.
✅ Gypsum Plaster – Ideal for interior walls & ceilings, providing a smooth, paint-ready surface. It dries in 3–7 days and is easy to work with.
✅ Cement Plaster – Best for exterior walls & damp areas like bathrooms. It is strong, moisture-resistant, and provides a durable base for painting or tiling. Drying time is 2–4 weeks.
✅ Lime Plaster – Perfect for older buildings as it allows walls to “breathe” and prevents moisture build-up. It has natural antibacterial properties and is eco-friendly.
✅ Polymer-Modified Plaster – Used for high-durability applications, offering flexibility, crack resistance, and faster drying than traditional cement plaster.
⸻
2. Types of Jointing Compound We Use & Their Purpose
✅ Ready-Mix Joint Compound – Used for drywall finishing, providing a smooth, easy-to-sand surface for painting. Drying time is 24 hours.
✅ Fast-Setting Joint Compound – Ideal for quick repairs and projects that require a fast turnaround. It sets in 20–90 minutes, making it efficient but requiring skill to apply.
✅ Taping Compound – Used as the first coat for drywall joints to create strong, crack-resistant seams. It dries in 24 hours and ensures structural integrity.
✅ Finishing Compound – Applied as the final layer on drywall for a perfectly smooth surface before painting or wallpapering.Why Our Material Choice Matters?
✔ High-quality materials ensure strong, smooth, and long-lasting finishes.
✔ We choose the right product based on the project’s needs, whether for interior, exterior, or moisture-prone areas.
✔ Proper application & drying prevent cracks, uneven textures, and poor paint adhesion.
Average Cost (GBP/m²)
Factors Affecting Price
Plastering (Skimming – Thin Layer)
£10 – £18
Surface condition, finishing quality
Plastering (Full Coat – Multi-Layer)
£15 – £30
Thickness, material type
Cement Plastering (Exterior or Damp Areas)
£20 – £40
Weatherproofing, drying time
Lime Plastering (Eco & Breathable)
£25 – £45
Traditional techniques, longer drying
Drywall Jointing (Standard Finish)
£8 – £15
Number of coats, sanding required
Fast-Setting Jointing (Quick Repairs)
£12 – £20
Drying time, application difficulty
2. Factors That Affect Cost
✅ Type of Plaster or Jointing Compound – High-quality materials (e.g., lime plaster, polymer-modified plaster) cost more but offer better durability.
✅ Surface Condition – If walls need extra preparation (old, uneven, or damaged surfaces), costs will be higher.
✅ Thickness & Number of Coats – A simple skim coat costs less than a full multi-layer plastering job.
✅ Labour Costs – Prices may vary based on the experience of the contractor and location (London rates are typically higher).
✅ Project Size – Larger projects may have discounted rates, while small repairs or detailed work can be more expensive per m².
⸻
How to Get an Exact Price?
To get an accurate estimate, it’s best to inspect the site, check wall conditions, and discuss specific requirements like finishing type and drying time.
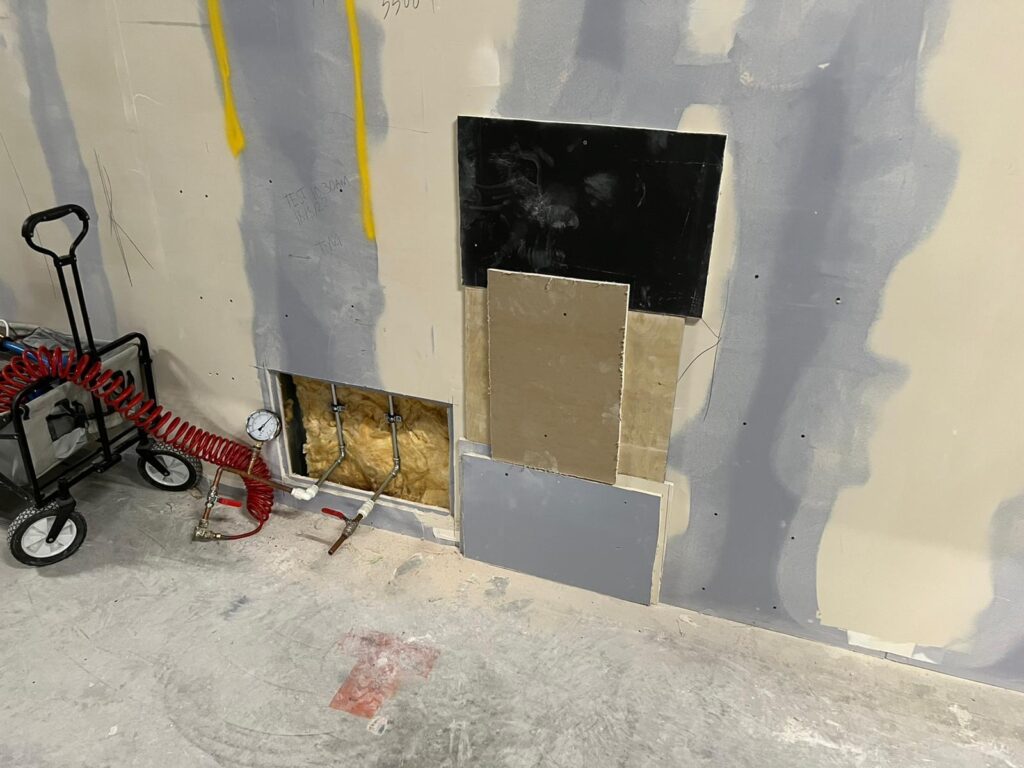
Types of Plaster Damage We Repair
✅ Hairline Cracks – Minor surface cracks caused by settling or temperature changes. We use high-quality fillers and jointing compounds to seal them and prevent future cracking.
✅ Deeper Cracks & Holes – Larger cracks or dents from impact or moisture damage. We apply reinforcement mesh, joint compound, or fresh plaster layers for a seamless finish.
✅ Loose or Crumbling Plaster – If plaster is falling off due to age or poor adhesion, we remove damaged areas, reapply plaster, and ensure proper bonding to the surface.
✅ Water-Damaged Plaster – We identify the source of moisture, apply mold-resistant treatments, and restore the surface using the appropriate plaster mix.
How We Restore Walls to a Smooth Finish
✔ Assess the Damage – We inspect the affected area to determine the best repair method.
✔ Prepare the Surface – Cleaning, removing loose plaster, and applying a bonding agent if needed.
✔ Apply Repair Materials – Using joint compound, filler, or new plaster for a durable fix.
✔ Sand & Smooth – Once dry, we sand the surface to blend seamlessly with the surrounding wall.
✔ Final Finishing – Ready for painting or wallpapering to match the original wall.
⸻
3. Why Choose Professional Repair?
✅ Prevents further cracking or damage.
✅ Ensures a smooth, paint-ready finish.
✅ Uses high-quality, durable materials.
✅ Saves time compared to DIY fixes.
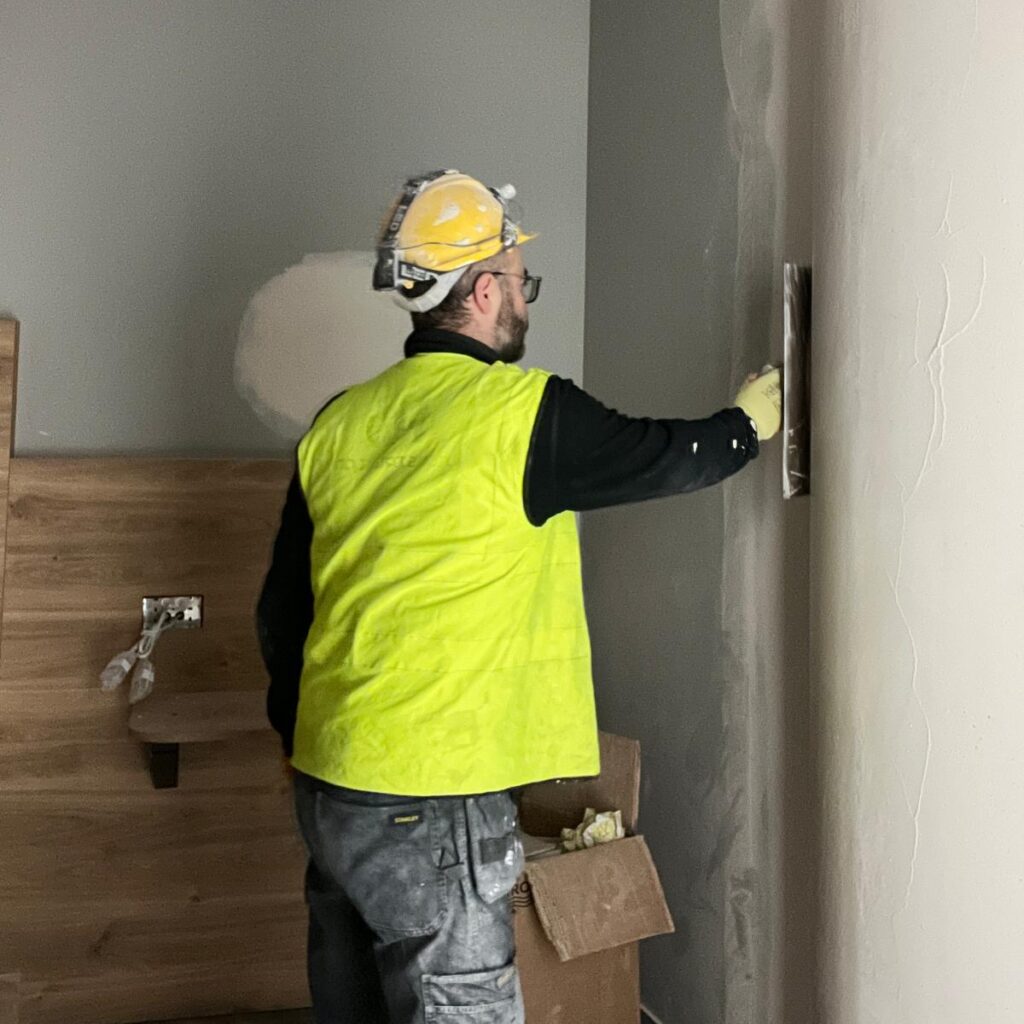
How We Achieve Dust-Free Plastering & Sanding
✅ Smooth Application Techniques – We use high-quality plasters and expert troweling methods to reduce the need for sanding.
✅ Low-Dust Sanding Tools – Our sanding process includes vacuum-assisted sanding machines that capture dust at the source, keeping the air clean.
✅ Protective Measures – We use dust sheets, plastic coverings, and air filtration systems to prevent dust from spreading in your home or workspace.
✅ Wet Sanding Option – For certain surfaces, we use wet sanding, which eliminates dust completely while achieving a smooth finish.
⸻
2. Benefits of Dust-Free Plastering & Sanding
✔ Cleaner Environment – Reduces dust buildup in your home or business.
✔ Healthier Air Quality – Ideal for people with allergies, asthma, or respiratory issues.
✔ Faster Cleanup – No excessive dust to settle on furniture or floors.
✔ Smooth, High-Quality Finish – Ensures a flawless surface ready for painting.
✅ Avoid excessive moisture – High humidity can cause plaster to weaken or crack. Use dehumidifiers in damp areas like bathrooms or basements.
✅ Regulate temperature – Avoid extreme temperature changes, as rapid shifts can cause expansion and contraction, leading to cracks.
✅ Ventilate well – Ensure proper airflow in your home to prevent moisture buildup and promote drying after washing or painting.
⸻
2. Repair Small Cracks Early
✅ Inspect regularly – Check your walls for small cracks or holes.
✅ Fill cracks promptly – Use a filler or joint compound to seal small cracks as soon as they appear, preventing them from spreading or worsening.
⸻
3. Keep Walls Clean
✅ Regular cleaning – Dust and dirt can accumulate on walls, weakening the surface. Use a soft, damp cloth to gently clean plastered walls. Avoid abrasive cleaners that can damage the surface.
✅ Avoid harsh chemicals – Clean your walls with gentle cleaning agents to avoid weakening the plaster.
⸻
4. Use Proper Paint and Finish
✅ Choose breathable paint – Use water-based or breathable paints that allow moisture to escape and don’t trap it behind the plaster, which could cause cracks.
✅ Apply a mist coat – When painting newly plastered walls, always apply a diluted first coat (mist coat) to ensure proper adhesion and prevent peeling.
⸻
5. Protect Against Heavy Impacts
✅ Protect the wall surface – Avoid heavy impacts or pressure on your plastered walls. Use furniture pads or wall protectors to prevent damage.
✅ Avoid sharp objects – Refrain from hanging heavy objects directly on plastered walls without using proper anchors or hooks, as this can cause cracking.
⸻
6. Maintain Structural Integrity
✅ Check for leaks – Inspect for water leaks or rising dampness. Address any plumbing or roofing issues immediately to avoid moisture damage to the plaster.
✅ Use expansion joints – In larger or external walls, ensure expansion joints are properly maintained to allow for natural movement without cracking the plaster.
⸻
7. Annual Inspections
✅ Professional checks – Consider having a professional inspect the plastered walls annually to ensure there are no hidden issues, such as water damage or structural movement.
⸻
By following these aftercare tips, you can maintain your plastered walls in great condition, minimizing the risk of cracks or damage.
✅ Drying Time – Fresh plaster can take anywhere from 3 to 7 days for a thin skim coat and 2 to 6 weeks for thicker plaster to fully dry. The plaster must be completely dry to ensure a proper bond with paint or wallpaper.
✅ Check for dryness – The wall should appear uniform in color (usually light pink or pale). If it’s still darker or damp in places, it’s not ready for paint or wallpaper.
⸻
2. Apply a Mist Coat (For Paint)
✅ Mist Coat – After the plaster has dried, apply a mist coat (a diluted emulsion paint). This helps the paint to adhere properly and prevents peeling. To make a mist coat, dilute your chosen emulsion paint with 10-20% water.
✅ Why it’s important – A mist coat seals the plaster and prevents the topcoat from being absorbed unevenly by the plaster, leading to patchy finishes.
⸻
3. Use a Primer (For Wallpaper)
✅ Wallpaper Primer – For wallpaper, apply a wallpaper primer to the freshly plastered surface. This helps to create a smooth, even base and ensures the wallpaper adhesive sticks effectively.
✅ Why it’s important – Without primer, wallpaper may peel away from the surface or not adhere properly due to the porous nature of new plaster.
⸻
4. Wait for Adequate Curing Time
✅ Allow the mist coat or primer to dry – After applying the mist coat or primer, wait for it to fully dry before proceeding with further layers of paint or wallpaper. This ensures the wall is completely sealed and ready for finishing touches.
⸻
5. Consider Additional Finishing Coats
✅ Paint – Once the mist coat is dry, apply one or two topcoats of your chosen paint for the desired finish.
✅ Wallpaper – After the primer has dried, you can hang your wallpaper as usual. Ensure the wallpaper adhesive is compatible with the plastered surface.
⸻
Summary: Steps to Finish Freshly Plastered Walls
1.Wait for full drying – 3–7 days (thin plaster) or 2–6 weeks (thicker plaster).
2.Apply a mist coat (diluted emulsion paint) for painting.
3.Apply wallpaper primer for wallpaper.
4.Allow sufficient drying time for the mist coat or primer.
5.Apply final coats of paint or wallpaper.
By following these steps, you’ll ensure that your paint or wallpaper adheres correctly and lasts longer on your freshly plastered walls.
✅ Expert Craftsmanship – Our team consists of highly skilled professionals who take great pride in their work, ensuring that every plastering and jointing job is done to the highest standards.
✅ Long-lasting Results – We use only top-quality materials and the most effective techniques, ensuring that our work stands the test of time.
✅ Attention to Detail – We carefully assess the condition of your walls and provide tailored solutions to meet your needs, guaranteeing a smooth, flawless finish.
⸻
Our Commitment to Your Satisfaction
✅ Customer-Centric Approach – We prioritize your satisfaction and are dedicated to ensuring that you’re happy with the end result. If you have any concerns or issues after completion, we’re always happy to discuss them and find a solution that works for you.
✅ Transparent Communication – From the initial consultation to the final touches, we keep you informed every step of the way, ensuring you’re always clear about the process.
✅ Experienced Team – Our team brings years of experience to every project, providing high-quality work and excellent customer service.
⸻
We want you to feel confident in your choice to work with us, knowing that we’ll deliver a professional job and take care of your needs throughout the project. If you’re looking for reliable, quality plastering and jointing, we’re here to help!
✅ Flexible Scheduling – We offer flexible scheduling to suit your needs, and we typically have availability to start within a few days to a week, depending on our current workload.
✅ Quick Response – Once we’ve assessed your project, we’ll work with you to set a start date that fits your schedule.